The ergonomic desk setup checklist
Good ergonomics isn't one expensive chair — it's a handful of small alignments that stop your body fighting your desk all day. Here's the order we'd set things up in.
At a glance
| Product | Best for | Price | Warranty |
|---|---|---|---|
| Rise Aluminium Laptop Stand | Rotatable aluminium, lifts screen to eye level | € 29.95 | 2 years |
| Crane Gas-Spring Monitor Arm | Gas-spring single arm, up to 27", 10 kg | € 79.95 | 2 years |
| Charge Monitor Riser | Monitor riser with built-in wireless charging pad | € 127.95 | 2 years |
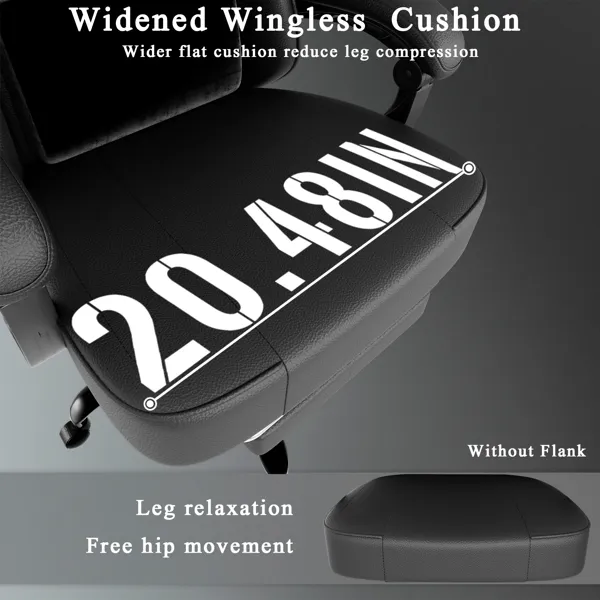
| Spring Gaming Chair with Footrest | Pocket-spring cushion, fold-out footrest | € 152.95 | 2 years |
Start with the screen
Your eyes should land on the top third of the screen when you look straight ahead. A laptop almost always sits too low: raise it and add an external keyboard.
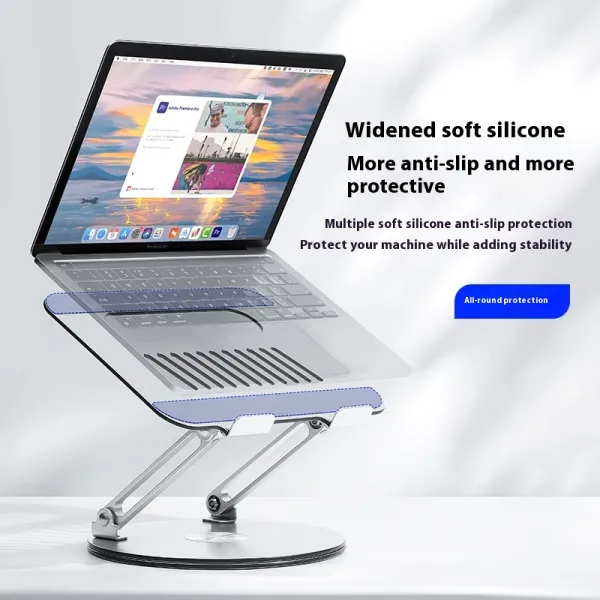
Rise Aluminium Laptop Stand
Rotatable aluminium, lifts screen to eye level
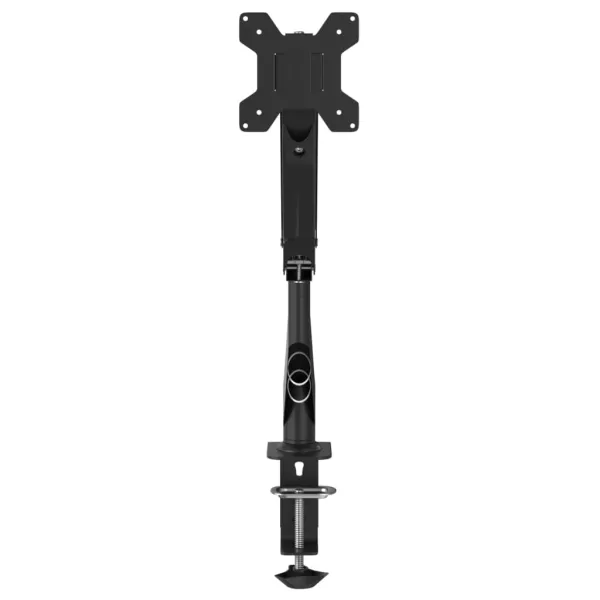
Crane Gas-Spring Monitor Arm
Gas-spring single arm, up to 27", 10 kg
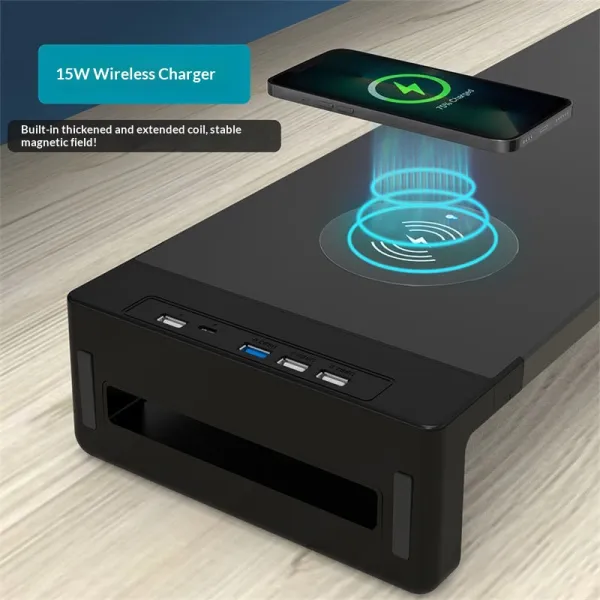
Charge Monitor Riser
Monitor riser with built-in wireless charging pad
Then the chair and your back
Sit back so the backrest supports you; fill any lower-back gap with a lumbar cushion. Hips slightly above knees.
Keyboard, mouse and wrists
Elbows near 90°, wrists straight. A split keyboard opens the shoulders; a vertical mouse keeps the wrist neutral.
Feet and legs
If your feet dangle, add a footrest. If you stand, an anti-fatigue mat keeps your legs fresh.
Finally, the light
Even, flicker-free light over the desk reduces eye strain. Light the surface, not the screen.
FAQ
In what order should I fix my setup?
Screen height first (it drives your neck and back), then chair and lumbar support, then keyboard/mouse/wrists, then feet, then lighting.
Do I need to buy everything at once?
No. Screen height and a neutral wrist position give the biggest return: start there and add the rest over time.